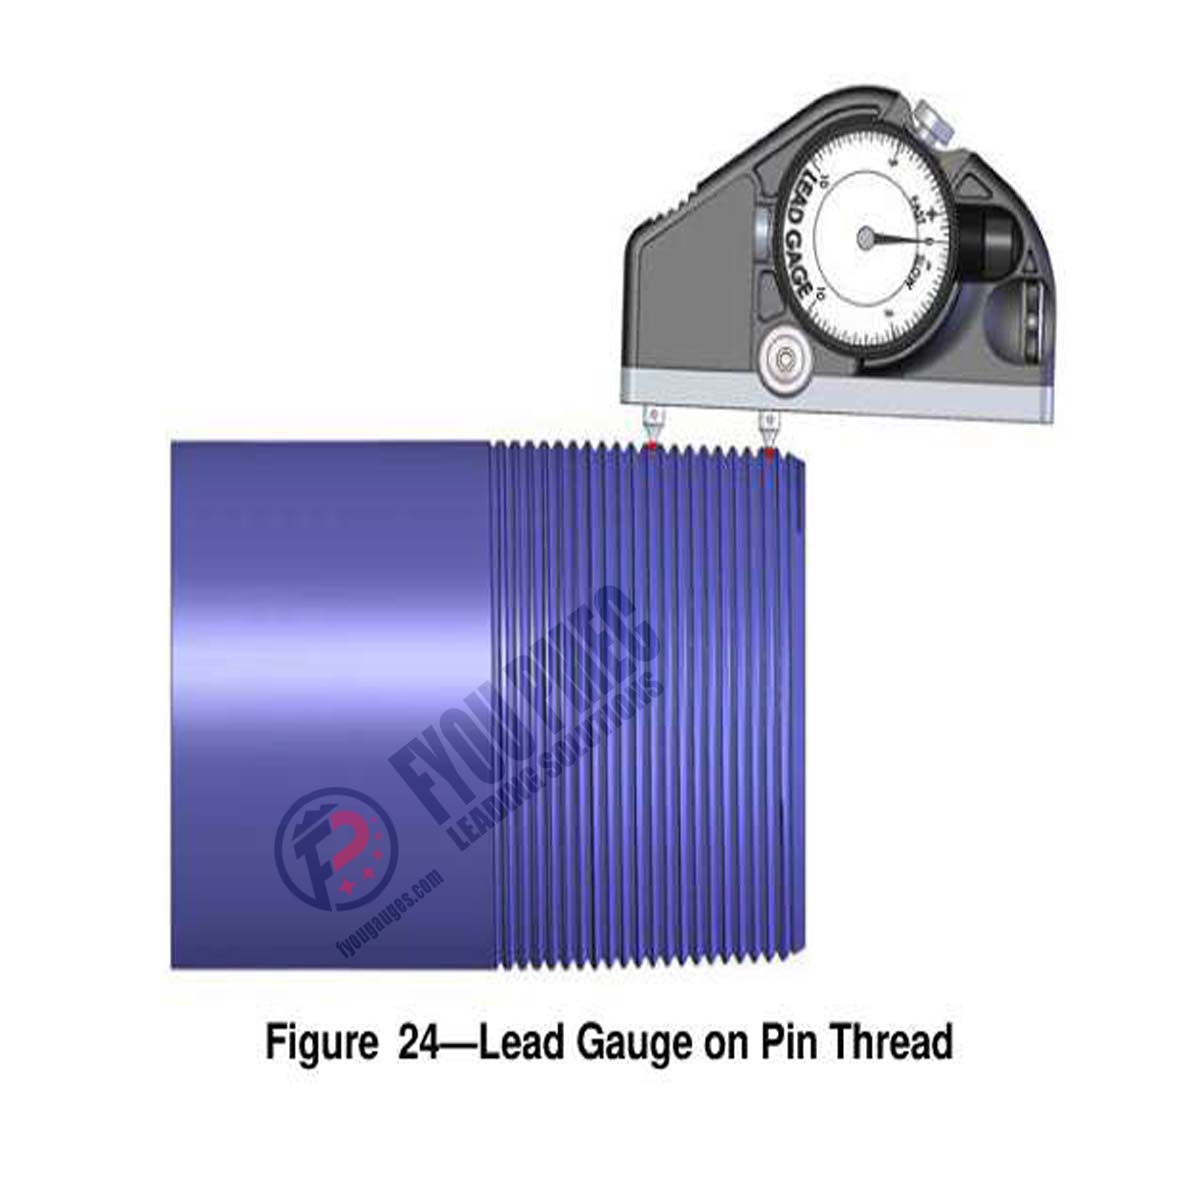
Lead Measurement-External Lead Gage
FYOU PMEC lead gages use interchangeable contact points to inspect both pin and box threads for a wide variety of API tubing & casing connections. Lead inspection is both an API mandated requirement and an industry wide practice. Defined as the distance between threads as measure on a plane parallel to the centerline of the threaded part, lead variation has a direct effect on standoff, thread flank engagement, and make-up. Lead error is most commonly generated by manual and CNC lathes not cutting properly.
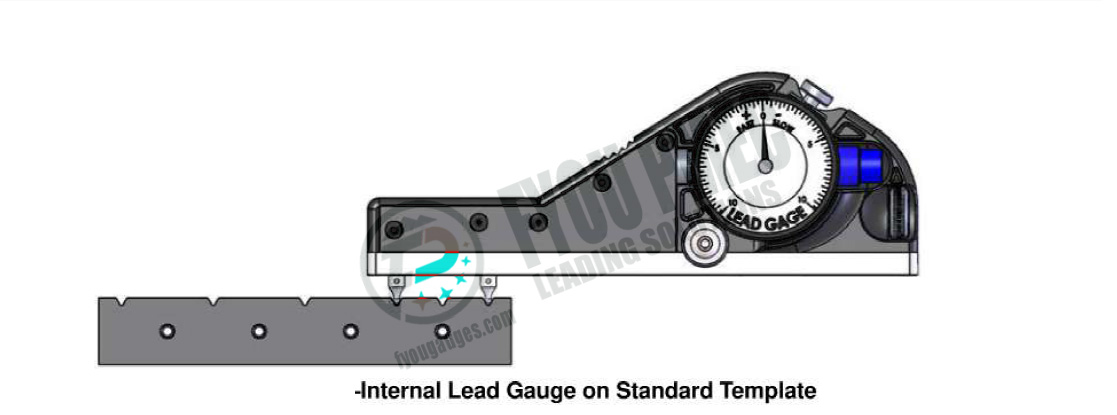
The lead gage inspects both internal and external thread leads using contact points that seat in the threads of a part. The pitch of the thread determines the diameter of the contact points required for taking measurements.

| P/N | Model | Measuring Range | Resolution | Description |
| EXL5B | WRW | 0.5~4in Thread Length | 0.02mm | External Lead Gage2-point |
| INL5B | WRN | 0.5~4in Thread Length | 0.02mm | Internal Lead Gage 2-point |
| EXL72-RSC | WRW2 | 0.5~4in Thread Length | 0.002mm | External Lead Gage2-point |
| INL72-RSC | WRN2 | 0.5~4in Thread Length | 0.002mm | Internal Lead Gage 2-point |
Lead Gage Setting Standard
FYOU PMEC precision lead gage setting standards are manufactured in accordance with API Specification 5B. Lead gage standards are used to set the gage prior to the inspection.

| Model | Connection Type/Description | TPF | TPI |
| LJK-1001 | API 8-Round Casing, Tubing & Drill Pipe, All 10-Round Tubing | 3/4″ | 8 & 10 |
| LJK-1002 | API Buttress Casing, Internal/External
4½” – 13⅜” |
3/4″ | 5 |
| LJK-1003 | API Buttress Casing, Internal/External
16″ – Larger |
1″ | 5 |
