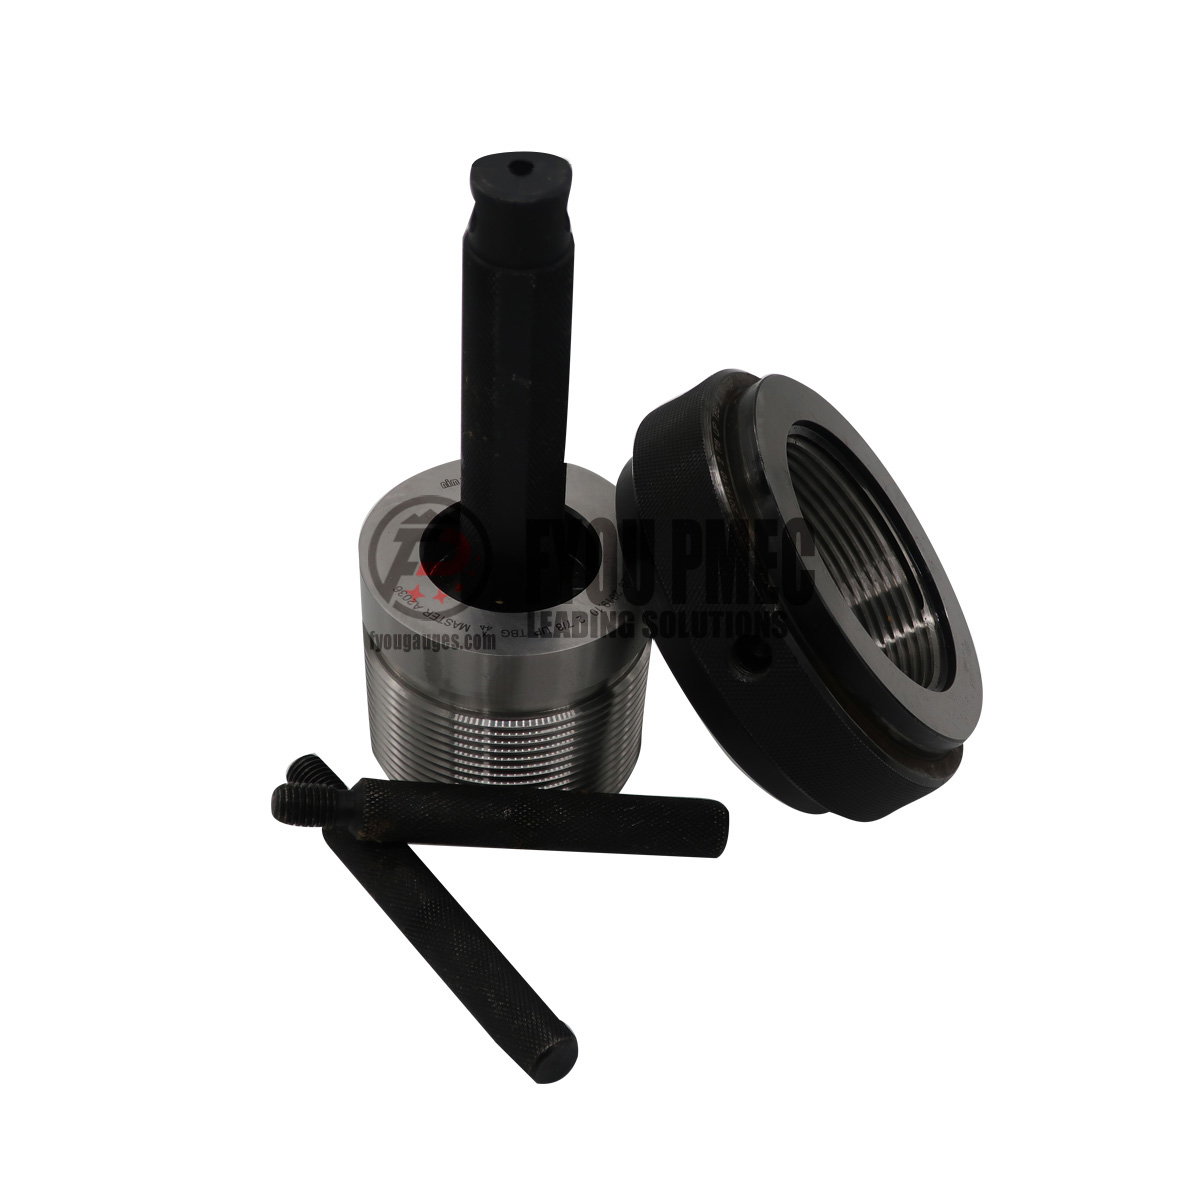
FYOU PMEC provides EUE and NUE 8 and 10 round tubing working and reference master gages per API Specification 5B for sizes from 1.050 to 4-1/2 inches in diameter. All working gages are manufactured and certified using a certified API reference master gage as required by the standard.
| UPSET (E.U.E) TUBING WORKING/MASTER/TAPER GAGES | |||||
| SIZE | Outer Dia. | T.P.I | T.P.F | TAPER | ANGLE |
| 1.050 EUE/UP TBG | 26.67 | 10 | 3/4 | 1:16 | 60° |
| 1.315 EUE/UP TBG | 33.40 | 10 | 3/4 | ||
| 1.660 EUE/UP TBG | 42.16 | 10 | 3/4 | ||
| 1.900 EUE/UP TBG | 48.26 | 10 | 3/4 | ||
| 2 3/8 EUE/UP TBG | 60.33 | 8 | 3/4 | ||
| 2 7/8 EUE/UP TBG | 73.03 | 8 | 3/4 | ||
| 3 1/2 EUE/UP TBG | 88.90 | 8 | 3/4 | ||
| 4 EUE/UP TBG | 101.60 | 8 | 3/4 | ||
| 4 1/2 EUE/UP TBG | 114.30 | 8 | 3/4 | ||
External Upset – EUE/EUT – Thread Plug and Ring Gages are used to measure the thread quality of tubing that is placed within a well and serves to produce or inject fluids. They are designed according to the API Spec 5B, which specifies the coupling threads, gauging practice and thread inspection requirements.
If you have any technical questions,We are here to assist you with any questions or special requirements you may have, please contact: +86 139 6216 8423 (WhatsApp/Wechat), or E-mail to: sales@fyougauges.com
Helpful Tips
Use the Go thread plug to check the minimum pitch diameter and the functional diameter of the internal thread. If the Go thread plug goes into the threaded hole smoothly and without force, then the product is usually considered acceptable.
Use the NoGo thread plug to check the maximum pitch diameter and the functional diameter of the internal thread. If the NoGo thread plug does not enter the threaded hole more than three turns, then the product is usually considered acceptable.
Use the ring gage to check the external thread of the tubing. The ring gage should be screwed onto the thread by hand until a slight drag is felt. If the ring gage goes on too easily or too tightly, then the product may be out of tolerance
Use a certified master gage to calibrate the working gages before and after each use. The master gage should have a calibration report with stand-off dimensions from a NIST-traceable source.
Use a thread lubricant to reduce friction and wear on the gages and the threads. The lubricant should be compatible with the material of the gages and the threads. It should not contain any abrasive or corrosive substances
Use a gage cleaner to remove any dirt, oil, grease or metal chips from the gages and the threads before and after each use.
Store the gages in a dry, clean and temperature-controlled environment. Protect the gages from dust, moisture, corrosion and mechanical damage. Use a protective case or a gage rack to store the gages safely.

